Total Views

Wednesday, August 31, 2011

Eyes

Eyes are the soul of a painting. Trying to capture your subject's true essence is no small feat!

When I first began my painting the subject's eyes followed me from right to left. Since that time something happened and I lost it.

One of the things I do along my painting journey is photograph each step. It allows me to go back and see what I liked and disliked. Unfortunately, painting does not allow me to select the undo tab and go back. But having past photos of my work can offer insite of what I may have done wrong so that I can fix my "happy mistake"!


Oily Face

Once the acrylic dries (which only takes minutes instead of days or weeks) I begin using oil. I may not appreciate the length of time oil dries, however, I do appreciate the smoothness of this medium.

As you can see oil creates a smoother finish on the subject's face. The next several stages will be adding one layer at a time. Hopefully, with each layer the portrait will become more realistic. At least that is my goal.

One of the things I anticipate along the way our little mistakes and as Bob Ross states, They are "Happy Mistakes"! Got to love that guy, God rest his soul!


First layer of oil

The Process

I decided to do something a little different this time. I had read where using acrylic paints under oil works fairly well for the under painting. The last oil portrait I had painted I used all oil including the under painting. It took forever to dry! Patience is not a virtue of mine!


Acrylic paints were used to begin the under painting process

And continued with acrylic until
everything was covered 

Oil Painting Of My Daughter

Drawing on a 16x20 Canvas

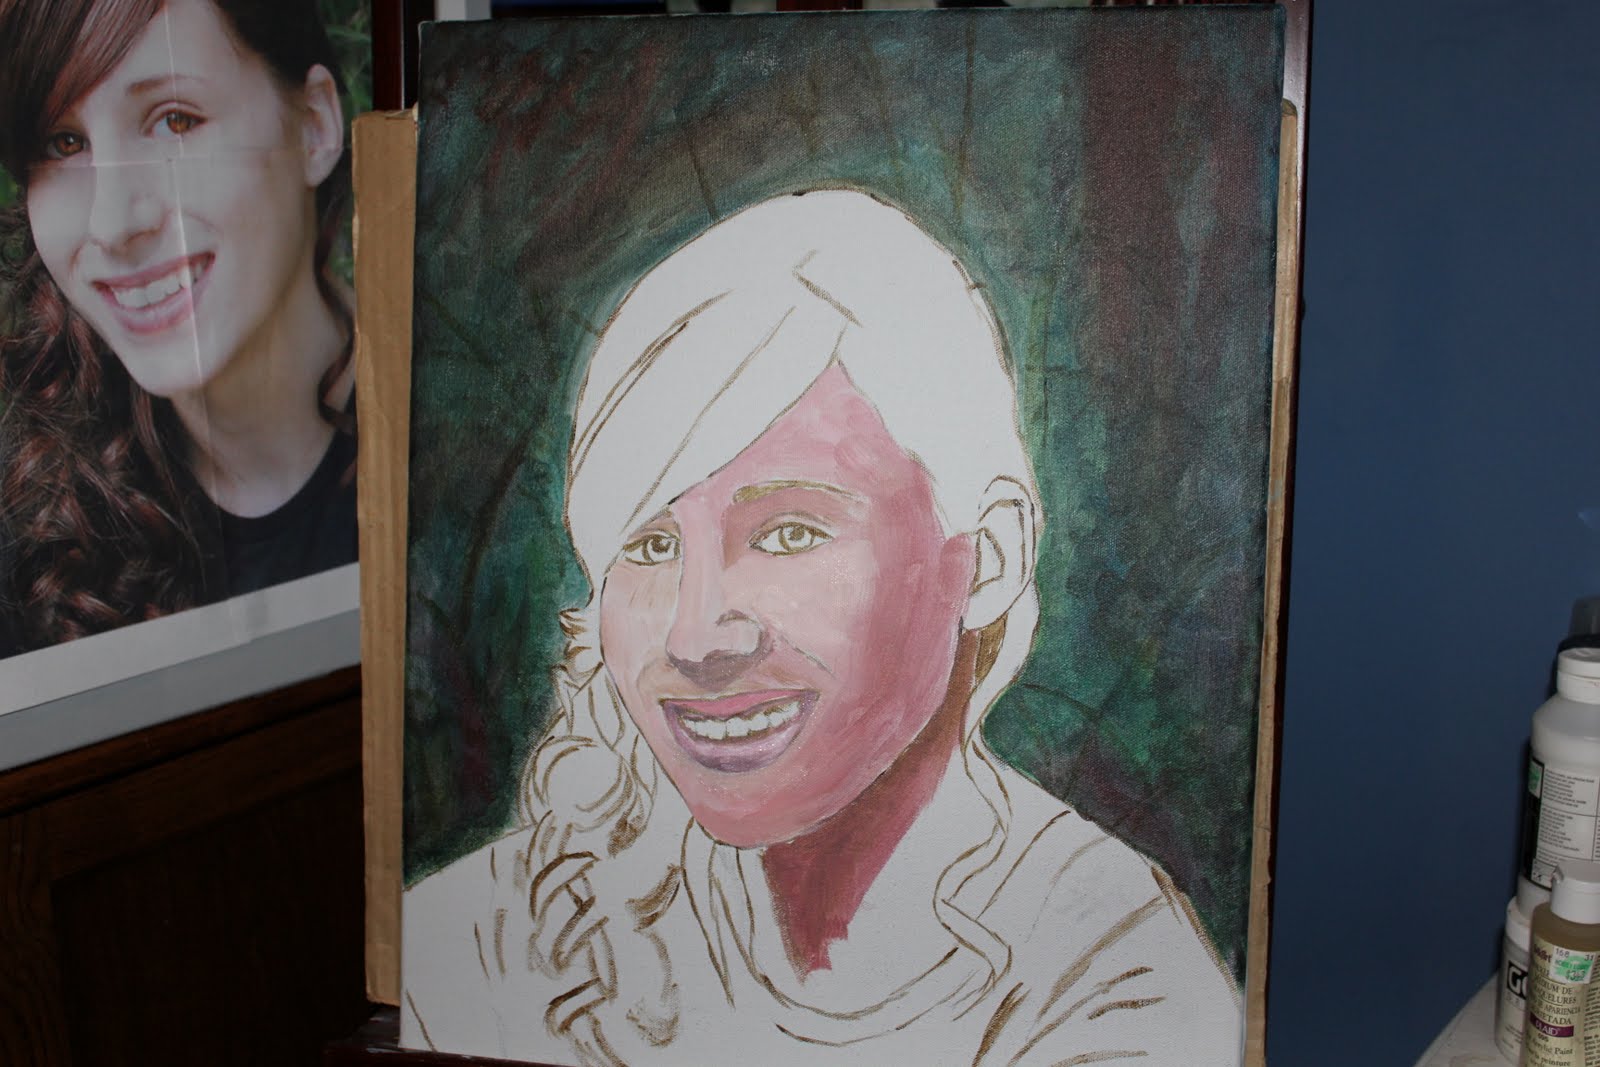
 My daughter will be graduating next summer and one of the things she ask me for was a portrait painting.

I had taken a couple of photos of her along side our pond. I decided a full frontal photo would not work for my portrait.

Instead, I snapped one of her with a slight profile. This angle allows for deeper shadows and will have more interest once I begin the painting.


Photo was enlarged and Photoshop
First, I used Photoshop to enhance the colors of the hair and skin. I also made her eyes more vivid.

To save time and to have the subject's face proportionate I pieced together four 8x10 imagines to the size of the subject I wanted. For this project the canvas size is 16x20. I pieced the photos together like a puzzle to create the above photo.

I love to sketch but I am not as accurate as I would like to be. Some artist view this as cheating. The way I look at it as saving time. One of the tools I would like to eventually buy is a projector so I will not have to go through piecing and taping large pieces together to get the right imagine!


Tuesday, August 30, 2011

Window Cats

 Beginning the under painting
14X18 "Window Cats"

In memory of Miss Tabby and Miss Molly


This painting was given to my mother-in-law. She had rescued this Tortishell cat from an abandon building. She tried to rescue the sister of the Tortishell, Miss Tabby but unforturnately her nine lives ran out to soon!  The window and greenery was inspired by another painting I had seen. I thought what better way to capture a cats lazy day on a sunny window ledge!

Monday, August 29, 2011

Sky Scapes and Light Houses

I have been working on painting various sky scapes and lighthouses.


5x7 "Light Dusk"

Sky Scapes and Light Houses Continued

5x7 "Light Willow
5x7 "Light Moon"
5x7 "Light Rocks"


After painting these four sky scapes and light houses I discovered I was ready to go back to a large canvas. I had thought the detailing would be easier since it was smaller in scale but actually it was much more difficult than I had expected. Although, it was another great learning experiance! On to my next project...


Art Projector: The Good, Bad, and Helpful

In my artistic journey, I've evolved from doodling on paper to using digital tools like Procreate on my tablet for sketching, painting, ...