Total Views

Wednesday, August 31, 2011

The Process

This time, I decided to try something a little different. I’d been reading that acrylics can work beautifully for an underpainting beneath oil paints, so I figured—why not? In my last oil portrait, I used oils from start to finish, including the underpainting, and it felt like I was waiting ages for each layer to dry. And since patience has never been my strongest virtue, I was ready for a better way.

Acrylic paints were used to begin the under painting process

And continued with acrylic until
everything was covered 

Oil Painting Of My Daughter

My daughter will be graduating next summer, and one of the things she asked for was a portrait painting—something personal and handmade to mark this milestone.

I started by taking several photos of her near our pond. A full-frontal shot didn’t feel right for the portrait I had in mind. Instead, a slight profile caught my eye. That angle offered richer shadows and a more interesting play of light—perfect for bringing depth into the painting.

Before transferring anything to canvas, I brought the photo into Photoshop. I enhanced the colors in her hair and skin and made her eyes a little more vivid, giving the reference image the life I plan to capture in paint.

To make sure the proportions stayed accurate—and to save a lot of time—I printed the reference as four separate 8×10 images and pieced them together like a puzzle. My canvas for this project is 16×20, so this method helped me scale everything precisely.

I love to sketch, but I’m not as accurate as I’d like to be. Some artists consider tracing or projecting an image “cheating,” but I see it as a practical tool. In the future, I’d love to invest in a projector so I don’t have to keep cutting, taping, and assembling large photo grids just to get the right image. Efficiency lets me put more energy into the actual painting—where the real magic happens.

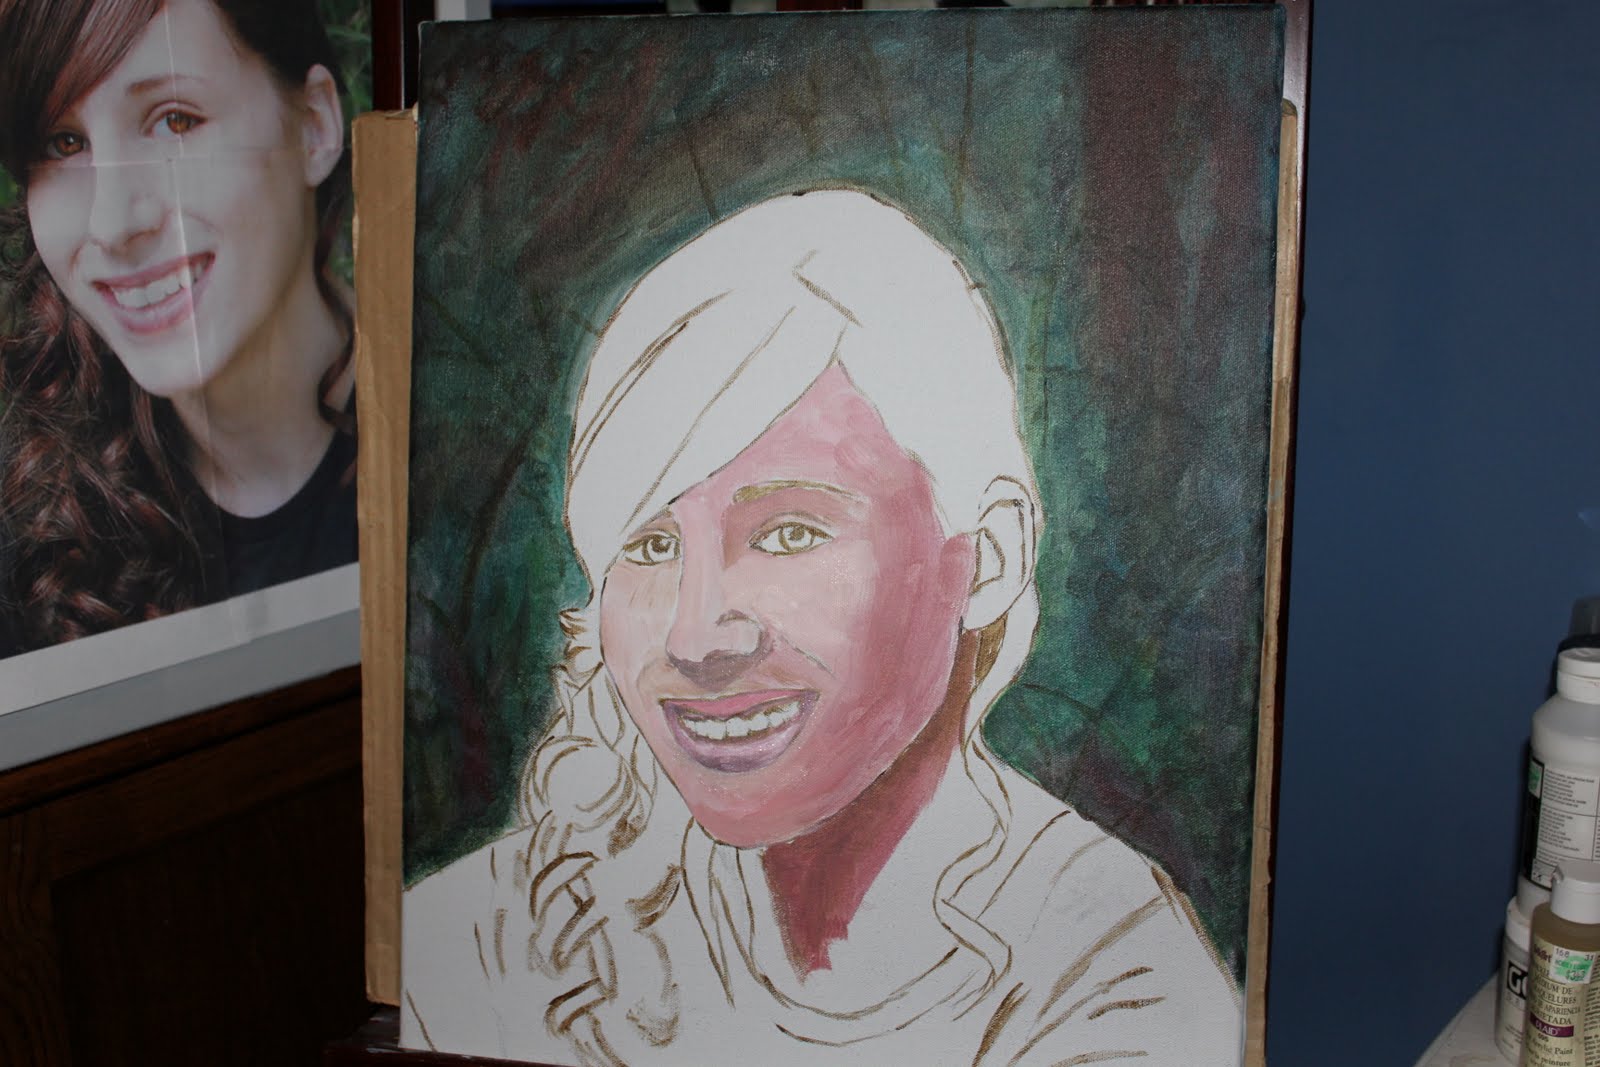
Sketch on a 16x20 canvas 
Four 8x10 photos stitched 


Tuesday, August 30, 2011

Window Cats

 Beginning the under painting
14X18 "Window Cats"

In memory of Miss Tabby and Miss Molly


This painting was given to my mother-in-law. She had rescued this Tortishell cat from an abandon building. She tried to rescue the sister of the Tortishell, Miss Tabby but unforturnately her nine lives ran out to soon!  The window and greenery was inspired by another painting I had seen. I thought what better way to capture a cats lazy day on a sunny window ledge!

Monday, August 29, 2011

Sky Scapes and Light Houses

I have been working on painting various sky scapes and lighthouses.


5x7 "Light Dusk"

Sky Scapes and Light Houses Continued

5x7 "Light Willow
5x7 "Light Moon"
5x7 "Light Rocks"


After painting these four sky scapes and light houses I discovered I was ready to go back to a large canvas. I had thought the detailing would be easier since it was smaller in scale but actually it was much more difficult than I had expected. Although, it was another great learning experiance! On to my next project...


Wednesday, April 20, 2011

Finished Painting Of "Passage Into Palisade"


"Passage Into Palisade"
Completed Painting
18x24
Acrylic

A couple years ago my family and I went to explore the beautiful Mississippi Palisade Park. I had taken several pictures while there of my family and some landscape photos. But this particular picture of my daughter using her cell phone to snap a quick picture was interesting to me. At the time, my daughter did not want her photo taken but I did anyway...one of her back! Once home and downloaded to my computer I thought the picture on the back of her t-shirt was just as interesting as the background of the surrounding park. It inspired me to want to paint a picture within a picture.

Enhancing Folds And Lettering

Enhancing folds and lettering

At this stage, I wanted to give more depth to the t-shirt. First, I enhanced the folds by using a lighter shade of blue gray for the darkest part of the folds. Then I mixed various shades of white mixed with gray for the lightest part of the folds. Once the folds were complete I focused on the lettering. I mixed a combination of orange, burnt umber, Payne's gray, and white until I was satisfied with the end result. When mixing the paint for the folds and lettering I watered down the acyclic paint until the consistency was similar to watercolor. I applied several thin applications until the lettering began to take shape and color was where I wanted it to be.

The Painting That Waited

Happy New Year! After a five-month hiatus, I’m thrilled to share what I’ve been working on since my last post in August 2025. Below is a pai...